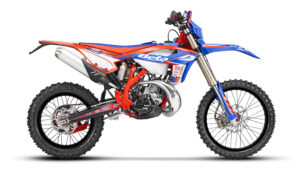
Wrench Tip Wednesday: Dirt Bike Maintenance Checklist
How many of you just hop on the bike for a big riding trip or race without going over the bike? It seems to be way more common than what I think is ideal. Preventative maintenance is always good idea versus the alternative, sitting out when you could be riding! This list that follows is what we do to all of our Beta’s and Sherco’s before a race or a big ride.
Number 1 – Is your bike still dirty? Sometimes I do slack and fail to get my bikes washed in a reasonable time frame. With a dirty dirt bike, it makes working on it and inspecting very difficult. Plus, it gets the workspace dirty and not many people enjoy working in filth. SO – WASH IT!

Number 2 – Review your prior entries in the dirt bike diary and compare hours then to hours now. How is a person supposed to know what the bike needs without a reference!
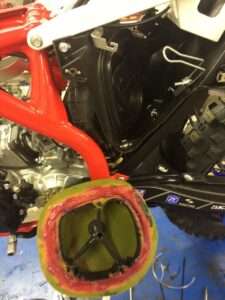
Number 3 – If you properly washed your bike, you should of already removed your air filter. If not, go ahead and inspect it. If it is dirty, remove, clean, and re-install. Pro tip – when installing make sure the filter has grease on the outside and a thick bead around the rim!
Number 4 – Check the spark plug! This lets the mechanic know how the bike is running, too lean or too rich. Plus, changing or cleaning the plug helps reduce the chances of fouling a plug.
Number 5 – Bleed the brakes! Losing the brakes is super scary and usually can be prevented. We always bleed our brakes for insurance. Inspect the brake pads and make sure they do not need to be replaced.
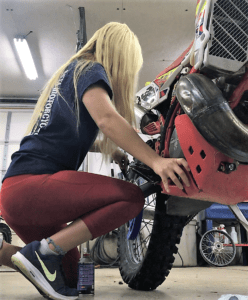
Number 6 – Change the oil! Keeping clean, fresh oil in the bike helps prevent premature wear. For Beta, we recommend Motul Transoil or Motul 7100 10w-40. For Sherco, we recommend Bel Ray Thumper. We have found that these oils last longer than most which equals less oil changes.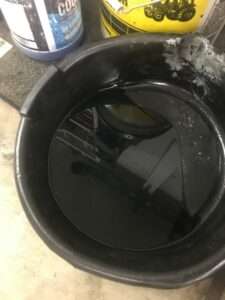
Number 7 – Check the battery! Make sure it is charged and has no lose connections. Lose connections can cause damage to the battery. Keeping an eye on the battery also helps know when it is getting weak and should be replaced.
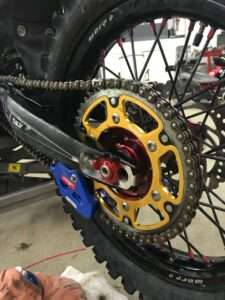
Number 8 – Check the chain and sprockets! Are your sprockets missing any teeth or starting to curl? What about the chain, has it seen better days? A chain breaking or derailing can be expensive and dangerous. It won’t always be prevented but always check its condition as well as the masterlink.
Number 9 – Check the coolant! It isn’t a great idea to start with coolant levels already low and risking the chances of overheating and bike failure. Remember, do not mix different brands. If coolant is low and you are unsure what is in it, you are better off to drain it and start fresh.
Number 10 – If you run tubes in your tires, check the air pressure. Or go a safer route and run Bib Mousses!
Number 11 – Check the spokes! Make sure they are not loose or broken. Be sure to not overtighten because it could result in them breaking during the next ride.
Number 12 – Go around the entire bike and make sure everything is tight. While doing this, do a visual inspection and see if anything else needs attention. Like are the cables in good shape? Have any leaks? Check to make sure all bearings are in proper working order and not seized or loose.
This is just a basic list. The number of hours on the bike ultimately depends on what all is required for the next ride, it could be top end time! Keeping up on routine maintenance sounds expensive but in the end it will for sure save you more time and money in the long run!

