Wrench Tip Wednesday: Installing Seat Covers
Did you know that getting rid of the stock seat cover with something rad automatically makes you faster? Haha kidding but it sure does make your bike look cool! I absolutely hate installing seat covers, no patience for that.
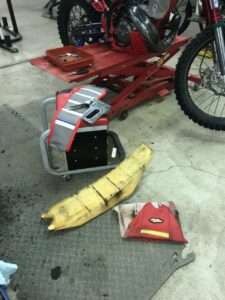
First off, the old seat cover needs to be removed. Sometimes, getting the staples out can be a chore. I discovered the combo of a flathead screwdriver and needle nose pliers will do the trick. Once all stables are removed and old cover is off, turn the seat right-side up. Start at the front of the seat by pulling the cover over the end followed by doing the same at the back of the seat. The cover should feel tight to pull over both ends. Insuring it will help give a wrinkle-free finish. Once both ends are on the seat, check any logos on the seat are straight and centered. Be sure to also check the seams of the stitching, it should be sitting square. Grab the staple gun. Make sure it has the longer staples in it. Punch one staple to the front and the rear of the seat. Make sure you press the staple gun firmly down onto the plastic evenly or the staple will fire through the cover and cut a hole straight through it. Also, lack of pressure on the gun might keep the staple from penetrating into the plastic. If this happens pull the staple out and try again. Work your way from the front to the back of the seat pulling the cover tight and adding a staple to each side of the seat all the way down to the back. Keep checking that the cover is going on straight and snug to the seat base.

I have a hard time trying to hold the seat, keep the cover tight, and stapling it all at once. If this seems to be your problem, I have found using two people does make it a lot easier. I also do not have a high-powered staple gun, just a standard one.


