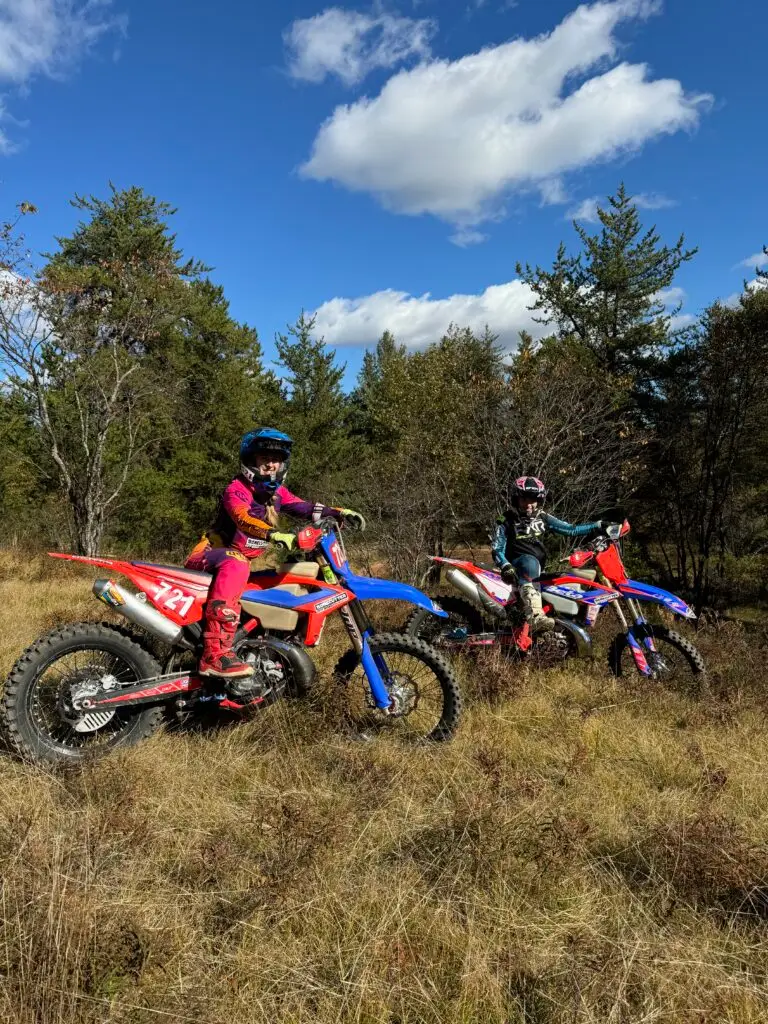
If you spend a lot of time at Bonecutter Off Road or around my family and I, you will hear the following statement often! When purchasing a new bike off the showroom floor with a racing intent or even the die-hard weekend warrior, a lot of things should be done to said bike to make it “ready”. This goes for all different brands of dirt bikes; no bike comes off the floor completely ready to ride. With that being said, a key secret to successful bike setup is knowing when to start riding and stop tuning. My new bike is a 2024 Beta 200 Race Edition. Most of the things done was what we felt like was necessary, but also personal preference. I have had many bikes over the years and this one is by far my favorite build. I absolutely love seeing a bike come together with all the little details and color choices. As soon as the bike arrived to the Bonecutter Headquarters, the first thing done was removing plastics, tank, and exhaust. I like to call it putting a new bike in a box! With a new bike, I recommend springing the suspension for your weight, but no other changes until you have tested it out. This is based off your weight, your correct weight not a fantasy number. Suspension can make or break an opinion on how a dirt bike feels. Not everyone needs the KYB (closed chambered forks). Being aware of that is crucial. The RR or X-pro models with open chambered forks work really well. If you are unsure about which forks would be better for you, we strive to assist our customers with making that decision. With that being said, I dropped my forks and shock off at JDP Suspension to get the correct springs and some valving done. Jay has done both my 200’s and honestly I am super impressed with his work. The bike stays straight and handles the rough GNCC chop like a champ! Next order of business was removing the linkage and swingarm to grease ‘em up. Most manufactures do not use a lot of grease on their bearings in the factory. By addressing this when the bike is new, the life of the bearings is prolonged. I was super impressed with how much grease was on this bike from the factory! A lot more than I have seen in recent years with other manufactures. There are times when Loctite is necessary and times when anti seize is necessary. Anti seize was applied to the chain adjusters and brake pins, helping to ensure upon removal, down the road, they would not strip. On the engine mount bolts, anti seize was applied to the bolt and Loctite on the nuts. Another crucial place for anti seize is on the bolts holding the plastics on, especially the tank ones. Strip out the tank and that’s no good. I also went ahead and changed the brake pins to hex head pins so it is less likely to strip out and way easier to remove. A couple “pro tips”: On the rear brake caliper, the brake line can be knocked loose, to help this issue, it is tightened to the inside and then wire tied. The front brake line is also prone to loosen up and get into the spokes which can destroy the brake line. It is very important to watch this and keep the fork guard clamp tight and position it accordingly. We also wrap gorilla tape around this area for extra protection. We also wire tie the rear spokes just incase of breaking them. If you do break it, and it is wire tied, it will prevent it from getting down in your caliper and rotors. On the rear, I run a solid rear rotor. I am hard on brakes and this helps with the overheating issue. I also run Castrol Brake fluid in my brake and clutch systems. The heat rating on it very high so it doesn’t boil over real quick! I use DP brake pads as well and have had great luck with them. I run Fasst Company rear brake clevis and return spring as extra insurance for keeping my rear brakes working well! All Beta’s are able to dual sport. In return, they come with extra wires to make that possible. My bikes are considered race bikes, so the wiring for the lights, horns, etc are unnecessary to me. My map switch is no longer on tank but is on the handlebars. All the wires and CDI were rerouted to the right side of the bike for extra protection and less likely to receive excessive water damage. Make sure the CDI is pointed downward. I install a TPS removal plug as well to clean it up too. In Missouri, the stock jetting is usually good. So, we leave that alone until there is an issue. From factory, the carb vent tubes are located at the bottom of the bike. This can allow dirt, sand, or water to be sucked up. Go ahead and prevent this, a carb vent kit is installed, relocating the vents to under the seat. For under $25, you will be saving yourself a lot of future wear and tear. Time to address the cooling situation. Never in my life have I overheated a Beta two stroke. The thermostat located in the cooling hoses is prone to leaking. Before it is a problem, a Samco hose kit is installed. This deletes the thermostat and also keeps the bike cooler. Samco hoses are also thicker than stock! The OEM coolant is removed and replaced with Engine Ice. We keep Engine Ice on hand, so it keeps it simple. I put a Funnelweb Air filter in. I choose Funnelweb because it is simply the best in dust and mud races. I trust it. REMEMBER, a THICK bead of grease is applied around the rim along with filter oil applied to the filter. This is