Business Hours

Sunday Closed
Monday 8:00 AM to 5:00 PM
Tuesday 8:00 AM to 5:00 PM
Wednesday 8:00 AM to 5:00 PM
Thursday 8:00 AM to 5:00 PM
Friday 8:00 AM to 5:00 PM
Saturday Closed

January 2019

Wrench Tip Wednesday: Installing Graphics

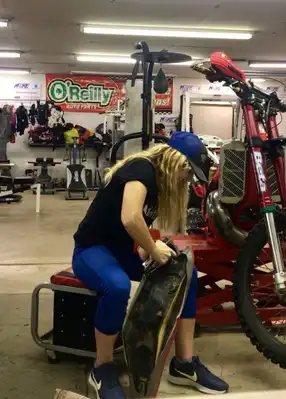
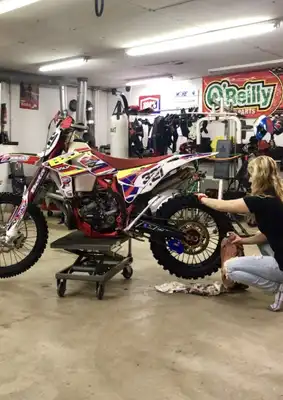
Wrench Tip Wednesday: Installing Graphics One of the easiest things a person can do to their bike to make it stand out from the rest is buy custom graphics. Easy & reserved or extravagant with a flare, a fresh set of decals is a fun way to show style. This is my least favorite job to do and for some reason takes hours for me to complete. When it comes to graphic time, for me choosing colors is the hardest part! Should I do red, white, and blue or neon yellow and red or maybe gray and blue. The possibilities are endless!! Once the kick butt decals are received it is time to install. Majority of the time, when I get new graphics I am in need of new plastics. So, I plan for that. Lay out all of the plastics, in a warm place. To be on the safe side wipe down with rubbing alcohol. This helps ensure the plastics are clean. New plastics are not necessary if the current ones are in good condition still. Get a heat gun and start heating up the current decals on the plastics. This will help make sure the glue does not stick to the plastics. A hair dryer will also work but I do not recommend using your mom’s/sister’s/wife’s/girlfriend’s favorite, most expensive one. Then remove all the plastics off of the bike. Now it is time to start scrubbing. The plastics need to be extremely clean. Use purple power and a scrub brush to get the residue and dirt off. Dry completely and wipe down with rubbing alcohol. If glue residue is there, use wax-n-grease remover to get it off. There are two methods of putting decals on, wet or dry with a heat gun. I have always done the wet method and have not tried anything else. Peel the decal from the backing. Then get the sticky part wet. I just use a sink. A spray water bottle can also be used. Getting the decal wet allows more freedom of sticking and pulling back off. I like to start with the easiest ones to install and work my way up to the harder ones. Once the decals are straight, press down and use a squeegee to get all the water out and ensure it is stuck. The squeegee is also used to get any bubbles out. Sometimes poking a hole in the decal is necessary to pop the bubble. I prefer to put my graphics on when the plastics are off the bike. So, when I am finished with the decals, I put the plastics back on my bike and admire the beauty. More Posts Back To Blog Page

Wrench Tip Wednesday: Installing Graphics Read More »

Gearing up for Race Season: Part 2

Gearing up for Race Season: Part 2 Now that the bike is ready to go, are you? Sometimes making a check list help prevents forgetting important items like your gear and FOOD! If you forget the food, there most likely is a store along the way just don’t forget to stop. Forgetting gear is a little more difficult to make up for. Especially, when your 1,000 miles away from home. The first race of the year is always tough getting ready for. If you are like me, you have gear scattered between two vans, the garage at home, the house, shop in town. Literally, EVERYWHERE. So, first step is to find it all! Make sure you have at least one/set of helmet, gloves, goggles, camel pack, knee pad/braces, boots, pants, and jersey. Now that all of that is found, make sure the goggles are prepped and clean and that everything is in usable condition. Being a girl can be tough sometimes, especially when you are indecisive on what Fly Racing gear set to wear. I narrow it down to two sets and make a decision on race day…. Don’t forget the gas cans. If you ride a 2T don’t forget the oil for the gas. Don’t forget the chairs so you can be comfortable while bull sh!tting. If you have a canopy, bring it. Are you camping? If so, don’t forget the blankets. Nothing is more miserable than being cold all night. A change of clothes would be smart, along with a heavy jacket just in case it is colder than expected. FOOD AND WATER. If you are camping, make sure you bring enough for the entire weekend. It is important to eat on race day, it is your body’s fuel. I can’t stress enough the importance of being hydrate especially in the dead heat of the summer. So, eat and drink up! Load up and hit the road! Planning for extra drive time is smart, better to be way early than late. More Posts Back To Blog Page

Gearing up for Race Season: Part 2 Read More »

Gearing up for Race Season: Part 1

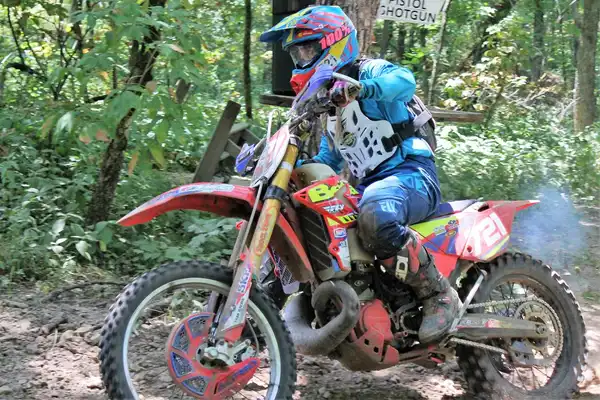
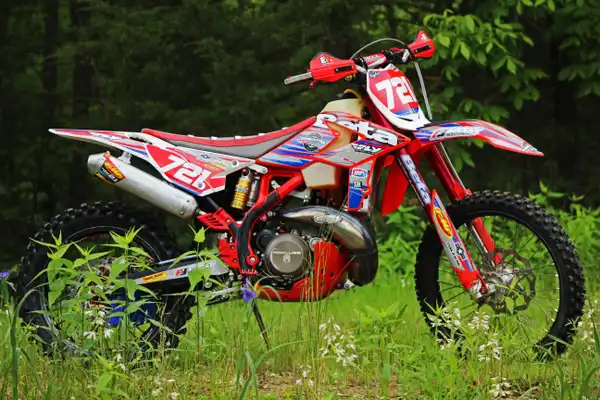
Gearing up for Race Season: Part 1 Under two weeks left until the first race of the year and it might be time to start inspecting the race bike. Either you have rode the bike all winter or you parked it after the last race. Sometimes things needing attention can be forgotten and that is exactly why the dirt bike should be looked over a few weeks prior to the first race. It ensures you have time to go to your local dirt bike shop for parts and maybe even get them installed. For me, I spent most of the winter on my 2018 Beta 250. It currently has around 40 hours on it. Not a lot of maintenance is needed at this time. After my last ride on it, I gave it a really good bath. Removed all the plastics and the tank and went to town scrubbing on it. It took FOREVER but totally worth it. While I do this, I look over the bike and make mental notes of what is needed. Generally, after a full season of racing and practicing my bikes are in desperate need of fresh plastics. So, before the first round I like to get new plastics and new graphics. Not a necessary item but what else am I going to spend money on? I shoot to have the plastics and graphics done at this time so I do not have to put the old plastics back on during the first race prep. Inspect the handguards. Are they loose? Are they so bent new ones are needed? 9 times out of 10 this is the case for me, so I plan on replacing them at this time. What about the grips? Is it time to replace them? INSPECT EVERYTHING! I tend to have a problem with bending headers. I guess they are kind of a disposable type item. I make sure that it isn’t so bent that it will be a problem. Like making sure it is not rubbing on hoses. Luckily, my FMF Fatty is in good shape! After the appearance check over is finished, I start reading my dirt bike diary to get a refresher on what has been done and what has not. Oil change for sure. Did the oil smell burnt? Wouldn’t hurt to check the clutch to make sure everything is in working order. Brakes and clutch need to be bled. Look at the brake pads, if they are border line replace go ahead and replace them. Install a new sparkplug. Clean the air filter or buy a new one. Check the coolant levels. Do the fork seals need replaced? What about the fork fluid, is it time to change that? How are the chain and sprockets? Again, if it is borderline, I lean more towards replacing. What is the point of starting the season with junk parts? Are all the bearings in good shape? Would not hurt to go ahead and disassemble the linkage and swingarm bearings and add more grease to them. Don’t forget the tires! If bibs are ran are they still good? If not, check the tire pressure and make sure the tubes still hold air. Another thing to consider, is it time for a rebuild? If it is near time, go ahead and get that out of the way now. As I stated above, my bike has 40 hours on it, so I do have some life left on the top end. After all parts are replaced that are needed, start assembling! In an ideal situation this is at least a few days prior to the race. When finished, stare at the beauty and take pictures. Ride it around some. Get your competition face on because it is race season!! More Posts Back To Blog Page

Gearing up for Race Season: Part 1 Read More »

Wrench Tip Wednesday: Repacking Silencers

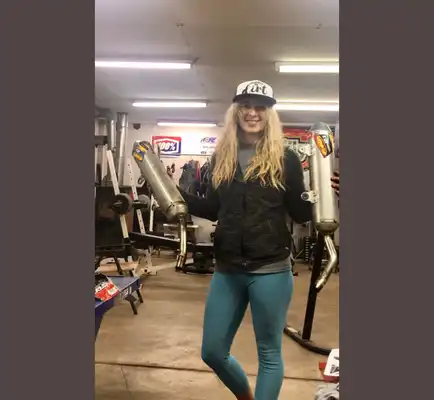
Wrench Tip Wednesday: Repacking Silencers   Ever have someone ride by and their bike is super loud, like so loud you cover your ears? Chances are their silencer needs to be repacked. The exhaust packing from the bike’s engine exits the pipe in waves and travels through the silencer. Packing around the core lets the silencer control the waves as they leave the bike and also keeps sound levels down. It is obviously when a person’s silencer packing is no longer good. Unburned mixed gas leaving the cylinder or excessive heat wears on the packing. There are many benefits to repacking your silencer. You don’t loose your hearing (Reducing sound levels) Can improve the throttle response Can restore peak power (who doesn’t like power?)   First off, remove the silencer from the bike. If it has a spark arrestor remove it before proceeding. Remove the allen screws or rivets from the front of the silencer – do not remove the rear end cap. Hold the front end cap and begin working it out of the cannister. A rubber mallet might be needed to lightly tap the mount to get the front end cap to break loose. Slowly pull the core all the way out, exposing all the remains. Unwrap the old packing from the core and discard. Clean the core with a wire brush to ensure no clogs and remove all old material. Align new packing with the longest dimension to be the length the core. Wrap the core. Secure the packing with ½” masking tape near each end. The packing should be snug but not too tight. Apply a thin bead of high temp silicone to the front end cap where contact is made with the canister. Reassemble the silencer and wipe off any excess silicone. Now your bike might have more horsepower and your ears live to hear another day! More Posts Back To Blog Page

Wrench Tip Wednesday: Repacking Silencers Read More »

Wrench Tip Wednesday: Grips

Wrench Tip Wednesday: Grips Grips are a wear item that should be replaced as needed. If you are gripping the bike more with your legs and less with your hands, the handlebar grips should last for what seems like forever! First off, choose what type of grip you want. I use to have a problem with twisting grips. They could be glued and wired on and it I would still twist them! A few years ago, I finally decided to try lock on grips, I no longer twist grips. I use ODI EMIG lock on, they are a little harder than most grips but don’t death grip them and its not a problem. These grips also come with a new throttle tube every time they are replaced. My dad likes the Risk Racing grips, they are a little bigger than the averaged size grip. My brother prefers the Renthal Kevlar grip, they are overall a softer, tackier type grip. If you go with grips that do not lock on, make sure you have grip glue and wire. It also helps to have safety wire pliers. Sometimes, the old grips come right off with ease once the wire is cut off. If it doesn’t, get a knife or a razor blade and start cutting the old ones off. Once the grips are off, clean the bar and throttle tube thoroughly with contact cleaner. It is also, a good time to inspect the throttle tube for excessive wear. If it is cracked or chipped go ahead and replace it. Get your fast hands and glue ready. Apply a small bead of glue on the inside of the grip and on the edge of the handlebars. Try to make putting the grip on in a smooth motion. Make sure the grips are in the desired position, if not you have to live with the way it is. Do not get any glue under the throttle tube. Some people prefer to not use grip glue and use spray paint. We have tried that and it seems to work about the same as the glue (still need wire). Pretty much just spray the paint on the bar and slide the grip on. Let the glue dry completely. Install the safety wire. I recommend at least two wraps of safety wire around the grip. I use to do three, inside, middle, and outside. Safety wire pliers make this job way easier. After twisting the wire together, cut it about a quarter of an inch away from the grip. Bend the cut end down and put it under the wrap of wire. Make sure it won’t catch on your hand when riding. Lock on grips make life EASY!! Remove the old grips by loosening the screw. New ones go on the same way except tighten. Because it comes with a new throttle tube, make sure you choose the correct cam for your bike. I just match the new ones up with what I had on already. This would also be a good time to spray Cable Life on the throttle cable. More Posts Back To Blog Page

Wrench Tip Wednesday: Grips Read More »

Wrench Tip Wednesday: Installing Seat Covers

Wrench Tip Wednesday: Installing Seat Covers Did you know that getting rid of the stock seat cover with something rad automatically makes you faster? Haha kidding but it sure does make your bike look cool! I absolutely hate installing seat covers, no patience for that. First off, the old seat cover needs to be removed. Sometimes, getting the staples out can be a chore. I discovered the combo of a flathead screwdriver and needle nose pliers will do the trick. Once all stables are removed and old cover is off, turn the seat right-side up. Start at the front of the seat by pulling the cover over the end followed by doing the same at the back of the seat. The cover should feel tight to pull over both ends. Insuring it will help give a wrinkle-free finish. Once both ends are on the seat, check any logos on the seat are straight and centered. Be sure to also check the seams of the stitching, it should be sitting square. Grab the staple gun. Make sure it has the longer staples in it. Punch one staple to the front and the rear of the seat. Make sure you press the staple gun firmly down onto the plastic evenly or the staple will fire through the cover and cut a hole straight through it. Also, lack of pressure on the gun might keep the staple from penetrating into the plastic. If this happens pull the staple out and try again. Work your way from the front to the back of the seat pulling the cover tight and adding a staple to each side of the seat all the way down to the back. Keep checking that the cover is going on straight and snug to the seat base. I have a hard time trying to hold the seat, keep the cover tight, and stapling it all at once. If this seems to be your problem, I have found using two people does make it a lot easier. I also do not have a high-powered staple gun, just a standard one. More Posts Back To Blog Page

Wrench Tip Wednesday: Installing Seat Covers Read More »

Wrench Tip Wednesday: Chains

Wrench Tip Wednesday: Chains Chain and sprockets are easy to forget about but need to be near the top of the list for maintenance checks, like before every ride. Having a chain too loose, too tight, or wore out could be bad. When the chain is too loose it can wear out the chain slide prematurely or derail. A derailed chain can be super annoying and will delay the ride. A chain that is too tight can snap. When a chain breaks, it can damage the bike or even hit the rider in the back. Bet that will hurt. Majority of the time, this can all be prevented. Do a visual check, most people can tell just by looking at the chain if its too loose or too tight. A good rule of thumb is the three-finger method. Put three fingers on top of each other. You should get three fingers in between the chain and swingarm. If not, it’s obviously too tight or if there is still a lot of slack with your fingers in there, its too loose. So, adjust it. Loosen the rear axle. Tighten the chain tensioner bolt to loosen chain. Loosen the chain tensioner bolt to tighten the chain. Make sure the chain blocks are aligned properly. It ensures the truest reading when checking the chain. Before you tighten your axle, it’s a good idea to take a shop rag, fold it up and place it on the rear sprocket, all while spinning the wheel backwards. The rag will jam in the sprocket and chain causing the wheel to stop, tightening your chain, and butting the chain blocks up against the adjuster bolts. A bottle will also work. Tighten the rear axle up. Check the chain again. Inspect the condition of the chain and sprockets. It would be embarrassing to DNF over a master link falling off, chain breaking in half from it being so wore, or derailing because the sprockets are missing multiple teeth. When washing the bike, a focus point should be getting all the dirt and grit out of the chain. Spin the wheel around so you can hit every part of the chain. Then lube it. I prefer lube that doesn’t splatter everywhere when riding, I like the tacky stuff. If it splatters, that is more cleaning. My favorite chain lube is Bel Ray Blue Tac, it is super sticky. My dad likes to use Silkolene Pro chain. As always, it comes down to personal preference. So, if this is not on your list, add it, check it, lube it. More Posts Back To Blog Page

Wrench Tip Wednesday: Chains Read More »

Scroll to Top